1.原本想在 acfs 14.04 x32 安裝SWAT,卻發現 acfs 14.04 x32 已經不支援SWAT。
資料來源:
installing SWAT on Ubuntu 14.04 LTS
https://ubuntuforums.org/showthread.php?t=2289150
所以改用 acfs 12.04 x32 ,卻發現可以用 SWAT,心中很開心。
遺憾的是,
卻無法在網頁http://伺服器IP:901上看到。
2.acfs 12.04 x32 目前從2012到2017,已經過五年了。遇到了一些問題。
$sudo apt-get update
W: GPG 錯誤: http://extras.ubuntu.com precise Release: 由於無法取得它們的公鑰,以下簽章無法進行驗證: NO_PUBKEY
16126D3A3E5C1192
解決方法為
$sudo apt-key adv --recv-keys --keyserver keyserver.ubuntu.com
16126D3A3E5C1192
3.變更sources.list
(1)備份原先的sources.list
$sudo cp /etc/apt/sources.list /etc/apt/sources.list.backup
(2)修改sources.list
$sudo pico /etc/apt/sources.list
(3) 加上下表所列的文字
deb http://ubuntu.stu.edu.tw/ubuntu/ precise main restricted
deb-src http://ubuntu.stu.edu.tw/ubuntu/ precise main restricted
deb http://ubuntu.stu.edu.tw/ubuntu/ precise-updates main restricted
deb-src http://ubuntu.stu.edu.tw/ubuntu/ precise-updates main restricted
deb http://ubuntu.stu.edu.tw/ubuntu/ precise universe
deb-src http://ubuntu.stu.edu.tw/ubuntu/ precise universe
deb http://ubuntu.stu.edu.tw/ubuntu/ precise-updates universe
deb-src http://ubuntu.stu.edu.tw/ubuntu/ precise-updates universe
deb http://ubuntu.stu.edu.tw/ubuntu/ precise multiverse
deb-src http://ubuntu.stu.edu.tw/ubuntu/ precise multiverse
deb http://ubuntu.stu.edu.tw/ubuntu/ precise-updates multiverse
deb-src http://ubuntu.stu.edu.tw/ubuntu/ precise-updates multiverse
deb http://ubuntu.stu.edu.tw/ubuntu/ precise-backports main restricted universe multiverse
deb-src http://ubuntu.stu.edu.tw/ubuntu/ precise-backports main restricted universe multiverse
(4)執行更新
$sudo apt-get update
4.安裝 samba 伺服器
$sudo apt-get install samba
5.安裝SWAT (Samba Web Admin Tools)
$sudo apt-get install swat
6.安裝xinetd (啟動swat 的相關伺服器)
(1)$sudo apt-get install xinetd
(2)在xinetd 設定SWAT
$sudo pico /etc/xinetd.d/swat
加入如下的設定
# default: off
# description: SWAT is the Samba Web Admin Tool. Use swat \
# to configure your Samba server. To use SWAT, \
# connect to port 901 with your favorite web browser.
service swat
{
port = 901
socket_type = stream
wait = no
# Use only_from if you want to restrict access
# only_from = localhost
user = root
server = /usr/sbin/swat
log_on_failure += USERID
disable = no
}
(3)儲存檔案後重新啟動xinetd.d:
$sudo /etc/init.d/xinetd restart
(4)開啟http://伺服器IP:901網頁瀏覽
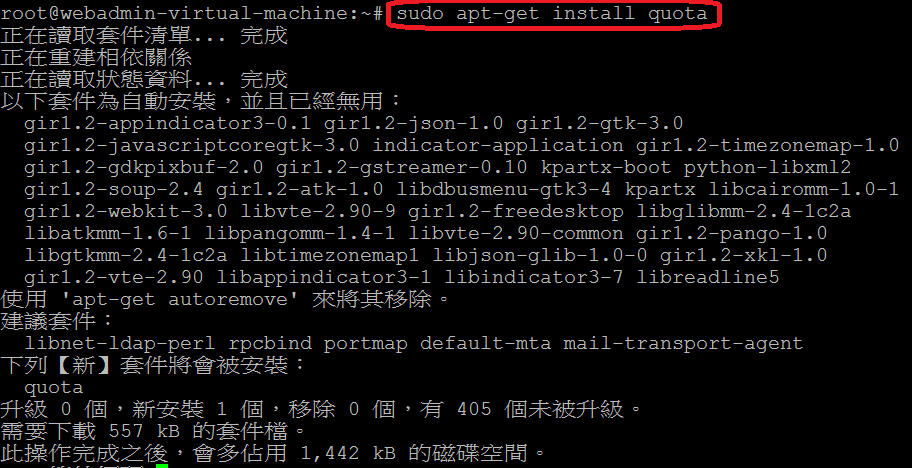
7.安裝quota
(1)$sudo apt-get install quota
(2)查看硬碟
$df -h
(3)設定 quota
$sudo pico /etc/fstab
內容新增如下:
/dev/sda3 /home ext4 defaults,usrquota,grpquota 1 1
(4)重心啟動
$sudo reboot now
(5)重新啟動後,可在/home 可看到兩個檔案aquota.group aqota.user
$ls
8.安裝 Webmin 與 usermin
$sudo -i
#echo "deb http://download.webmin.com/download/repository sarge contrib" >> /etc/apt/sources.list
#echo "deb http://webmin.mirror.somersettechsolutions.co.uk/repository sarge contrib" >> /etc/apt/sources.list
#wget -q http://www.webmin.com/jcameron-key.asc -O- | apt-key add -
#apt-get update; apt-get install webmin -y
$sudo apt-get install usermin
9.在/home內,新增資料夾homework。並設定權限777
$sudo mkdir /home/homework
$sudo chmod 777 /home/homework
10.打開瀏覽器,並輸入 https://伺服器IP:10000 ,可看到
(1)登入
(2)設定繁體中文
(3)變更設定
(4)大量建置帳號
資料來源:
1.[筆記] 為套件庫來源加入認證公鑰
http://nelson.pixnet.net/blog/post/23983621-%5B%E7%AD%86%E8%A8%98%5D-%E7%82%BA%E5%A5%97%E4%BB%B6%E5%BA%AB%E4%BE%86%E6%BA%90%E5%8A%A0%E5%85%A5%E8%AA%8D%E8%AD%89%E5%85%AC%E9%91%B0
2.Ubuntu 修改伺服器來源
http://www.sres.tn.edu.tw/~hua/?p=65
2.Ubuntu 12.04 server 安装 webmin
https://imcn.me/html/y2012/11953.html
3.Ubuntu安裝samba-swat
http://www.coctec.com/docs/linux/show-post-128614.html
4.quota - 磁碟配額
http://note.drx.tw/2008/03/disk-quota.html
5.[筆記]在Ubuntu使用SWAT
http://david50.pixnet.net/blog/post/25990739-%5B%E7%AD%86%E8%A8%98%5D%E5%9C%A8ubuntu%E4%BD%BF%E7%94%A8swat
6.如何在Ubuntu Server 12.04中安裝和配置SWAT
https://askubuntu.com/questions/196272/how-to-install-and-configure-swat-in-ubuntu-server-12-04
7.Ubuntu Server 設定 Samba 分享檔案
http://www.arthurtoday.com/2015/04/ubuntu-server-share-folder-samba.html
8.鳥哥的Linux 私房菜-- SAMBA 伺服器
http://linux.vbird.org/linux_server/0370samba.php
9.大量建置帳號
http://kinhorse.666forum.com/t25-topic